Secure Your Crypto: How to Withdraw to a Hardware Wallet
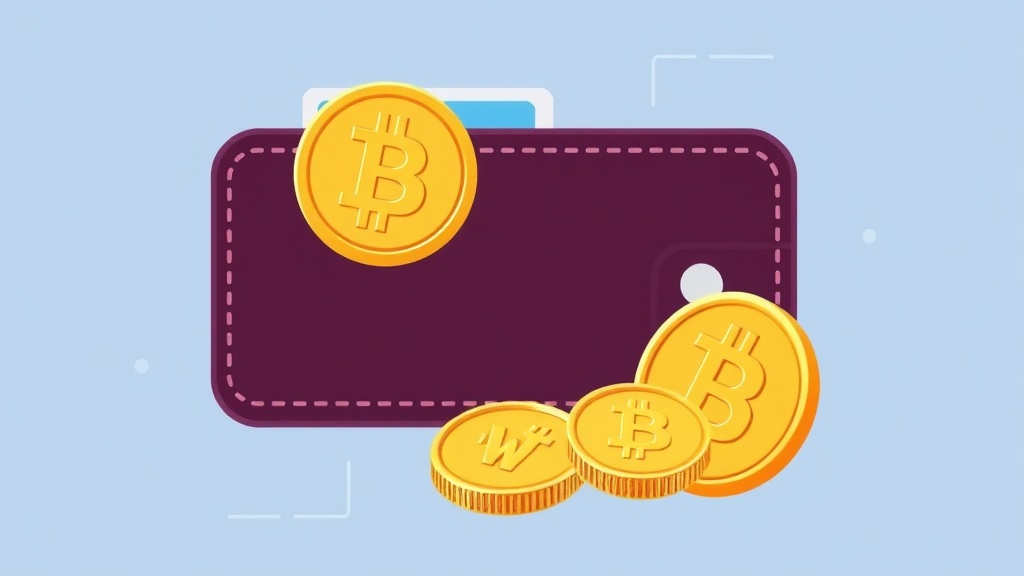
Why Withdrawing to a Hardware Wallet Matters for Crypto Security
If you're serious about protecting your cryptocurrency, a hardware wallet is one of the safest options available. Unlike software wallets or exchanges, hardware wallets store your private keys offline, making them immune to online hacks, phishing attacks, and malware. When you withdraw to a hardware wallet, you’re taking full control of your assets and removing them from centralized risks. This step is crucial for long-term investors, especially those holding large amounts of crypto or dealing with high-value transactions.
Exchanges and online wallets are frequent targets for cybercriminals. Even well-known platforms have suffered breaches, resulting in millions of dollars lost. By moving your funds to a hardware wallet, you eliminate the risk of losing everything in a single attack. Plus, you maintain ownership of your private keys — a core principle of cryptocurrency. Whether you're storing Bitcoin, Ethereum, or other digital assets, a hardware wallet offers peace of mind and enhanced privacy.
Choosing the Right Hardware Wallet for Your Needs
Not all hardware wallets are created equal. When selecting one, consider factors like supported cryptocurrencies, ease of use, security features, and price. Popular options include Ledger Nano X, Trezor Model T, and KeepKey. Each offers a balance of security and functionality, but they differ in design and compatibility.
For example, the Ledger Nano X supports over 1,800 coins and tokens and includes Bluetooth connectivity for mobile use. The Trezor Model T features a touchscreen and open-source software, appealing to privacy-focused users. KeepKey, while less compact, offers a sleek design and strong encryption. Before purchasing, verify that the wallet supports the specific cryptocurrencies you plan to store.
Also, consider the wallet’s recovery process. Most hardware wallets use a seed phrase (a 12 or 24-word recovery phrase) to restore access if the device is lost or damaged. Ensure you understand how to securely store this phrase — never store it digitally or share it online.
Step-by-Step Guide: How to Withdraw Crypto to a Hardware Wallet
Withdrawing your cryptocurrency to a hardware wallet involves a few key steps. While the exact process varies slightly depending on the exchange and wallet, the general method is consistent. Here’s how to do it safely:
Step 1: Set Up Your Hardware Wallet
Before you can receive funds, initialize your hardware wallet. This usually involves:
- Connecting the device to your computer or mobile device via USB or Bluetooth.
- Following the on-screen instructions to create a new wallet or restore an existing one.
- Writing down your seed phrase and storing it in a secure, offline location (e.g., a metal backup plate).
- Setting a strong PIN code to prevent unauthorized access.
Never take photos or store your seed phrase digitally. A physical copy in a safe or safety deposit box is ideal.
Step 2: Connect to a Secure Device and Software
Use a clean, malware-free computer or smartphone. Avoid public Wi-Fi networks. Install the official wallet software or app provided by your hardware wallet manufacturer (e.g., Ledger Live, Trezor Suite). These tools help you manage your assets and generate secure receiving addresses.
Step 3: Generate a Receiving Address on Your Hardware Wallet
Open your wallet software and navigate to the “Receive” section. The software will generate a unique cryptocurrency address tied to your hardware wallet. For added security, some wallets allow you to verify the address directly on the device screen. This prevents malware from altering the address on your computer.
Always double-check the address before proceeding. A single typo or copied address can send funds to the wrong place — and recovery is often impossible.
Step 4: Initiate the Withdrawal from Your Exchange or Wallet
Log in to your exchange or online wallet and select the “Withdraw” option. Choose the cryptocurrency you want to transfer (e.g., Bitcoin, Ethereum). Paste the receiving address from your hardware wallet into the “Recipient Address” field. Enter the amount you wish to withdraw.
Most exchanges allow you to set a transaction fee. Higher fees usually result in faster confirmation times. However, for small transfers, a lower fee may be sufficient. Always review the total amount being sent, including network fees, to avoid surprises.
Step 5: Confirm and Verify the Transaction
Before finalizing, double-check the recipient address and amount. Some exchanges send a confirmation email or require 2FA (two-factor authentication) before processing. Once confirmed, the transaction is broadcast to the blockchain.
You can track the transaction using a blockchain explorer like Blockchain.com or Etherscan. Once confirmed, your funds will appear in your hardware wallet. Congratulations — your crypto is now securely stored offline!
Common Mistakes to Avoid When Transferring to a Hardware Wallet
Even experienced users can make costly errors. Here are the most common pitfalls and how to avoid them:
- Using the wrong address: Always verify the address matches the cryptocurrency you’re sending. Sending Bitcoin to an Ethereum address, for example, will result in permanent loss.
- Ignoring network fees: Low fees can lead to slow or stuck transactions. Adjust fees based on network congestion.
- Skipping address verification: Never rely solely on copy-paste. Use the “Verify on Device” feature if available.
- Storing seed phrases digitally: Screenshots, cloud storage, or email drafts are high-risk. Use a physical backup only.
- Using public or shared computers: Always use a dedicated, secure device for wallet setup and transactions.
By staying vigilant and following best practices, you can prevent most transfer errors and keep your assets safe.
Beyond the Basics: Advanced Tips for Maximum Privacy and Security
For users who prioritize privacy, there are additional steps you can take to enhance security when using a hardware wallet:
- Use a dedicated device: Consider using a separate laptop or a bootable USB with a clean OS (like Tails) for wallet operations.
- Enable passphrase encryption: Some hardware wallets allow you to add an extra passphrase to your seed phrase, creating a hidden wallet that only appears with the correct phrase.
- Use Tor or a VPN: When accessing wallet software, route your connection through Tor or a trusted VPN to mask your IP address.
- Regularly update firmware: Manufacturers release security patches — always install the latest firmware to protect against vulnerabilities.
- Test small amounts first: Before transferring large sums, send a small test transaction to confirm everything works correctly.
These advanced measures aren’t necessary for everyone, but they’re valuable for high-net-worth individuals or those in high-risk environments.
Final Thoughts: Take Control of Your Crypto Future
Withdrawing your cryptocurrency to a hardware wallet is more than a security step — it’s a commitment to self-sovereignty. In a world where digital assets are increasingly targeted, owning your private keys is the ultimate form of protection. While it requires a bit more effort than leaving funds on an exchange, the peace of mind is unmatched.
Start by choosing a reputable hardware wallet, setting it up securely, and practicing small transfers before moving larger amounts. Stay informed about security best practices, and never rush a transaction. Your crypto’s safety depends on the care you take today.
By making the switch to a hardware wallet, you’re not just protecting your investment — you’re embracing the true spirit of cryptocurrency: decentralization, control, and freedom.
Related articles

Secure Your Crypto: The Ultimate Guide to Cold Wallet Payouts
Mastering Self-Custody Mixing for Enhanced Crypto Privacy
Top Financial Privacy Tools to Protect Your Crypto Transactions

Privacy-First Coin Mixers: Secure Your Crypto Transactions
Identity-Free Mixing: The Ultimate Guide to Crypto Privacy
Looking for a privacy tool?
Browse every mixer, exchanger and Telegram bot in one place.